Before |
After |
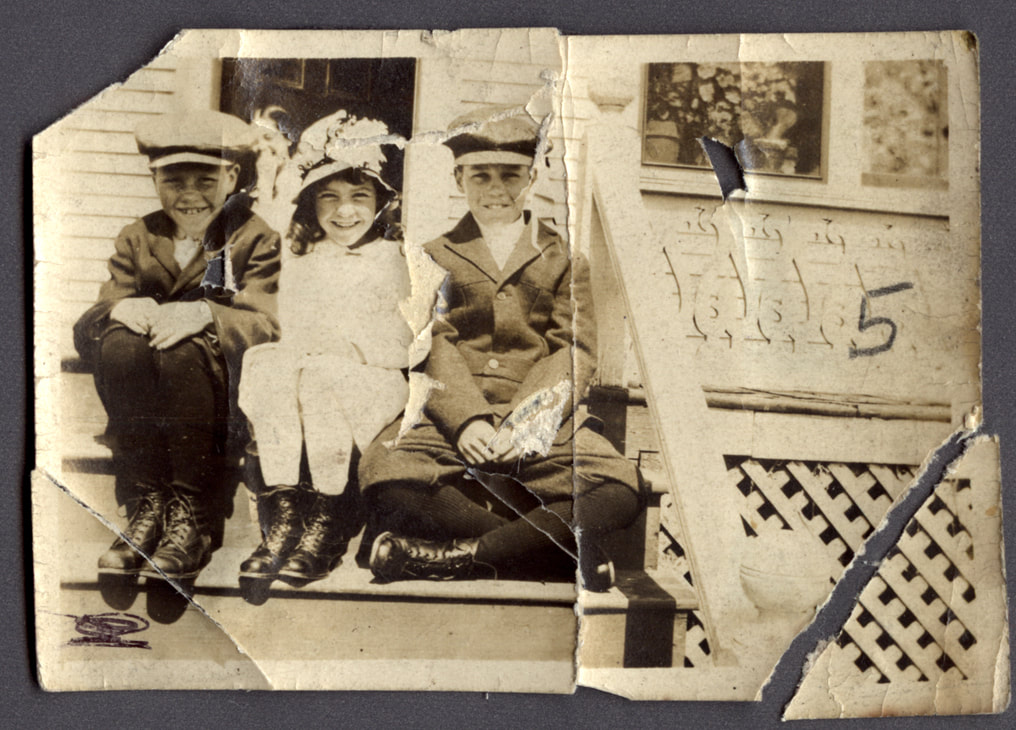
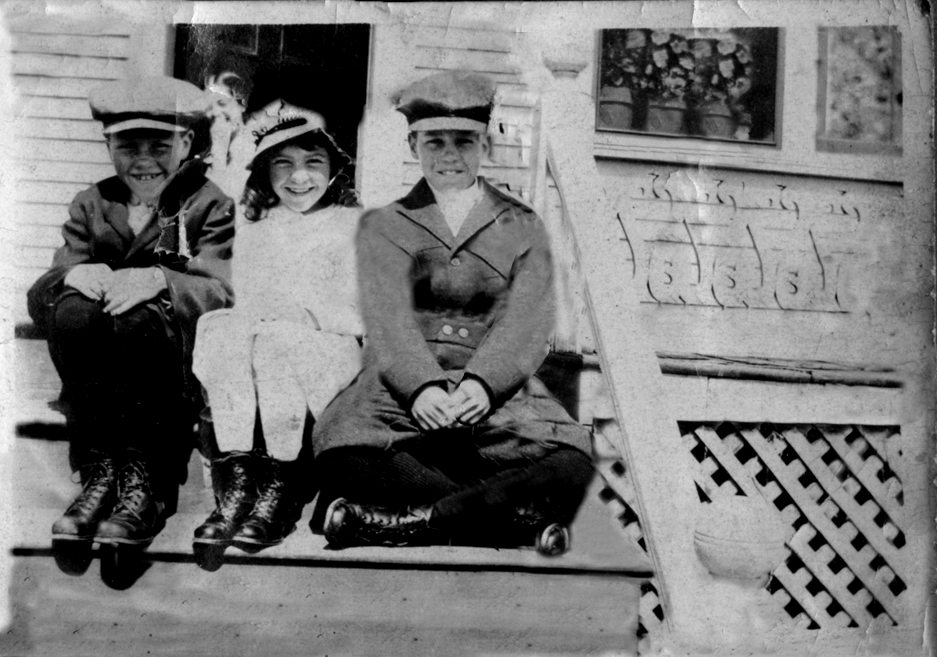
For this project, our job was to make the photo on the left look like the original photo before it was ruined. In order to do this, we learned how to use the clone stamp tool in adobe to fix all of the cracks and wrinkles along with some other tools. These tools also allowed us to fix some of the objects like the boy left hand so there was no scratch over it.
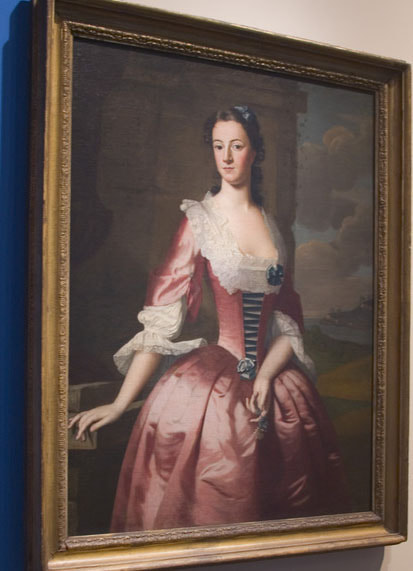
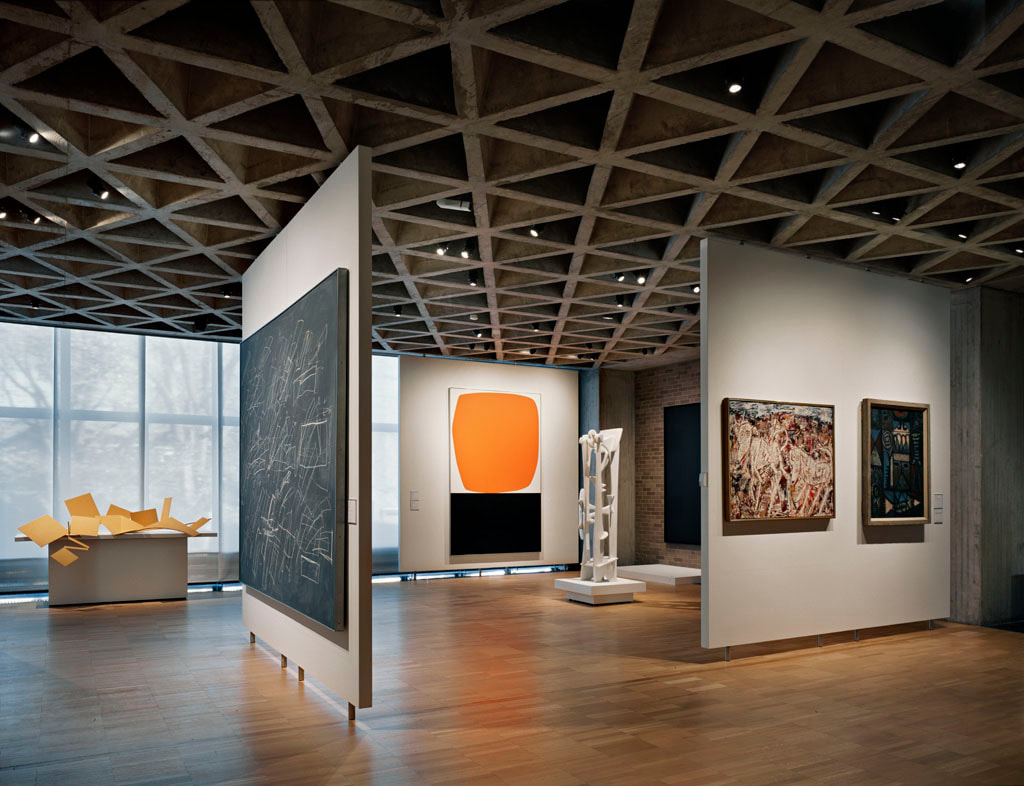
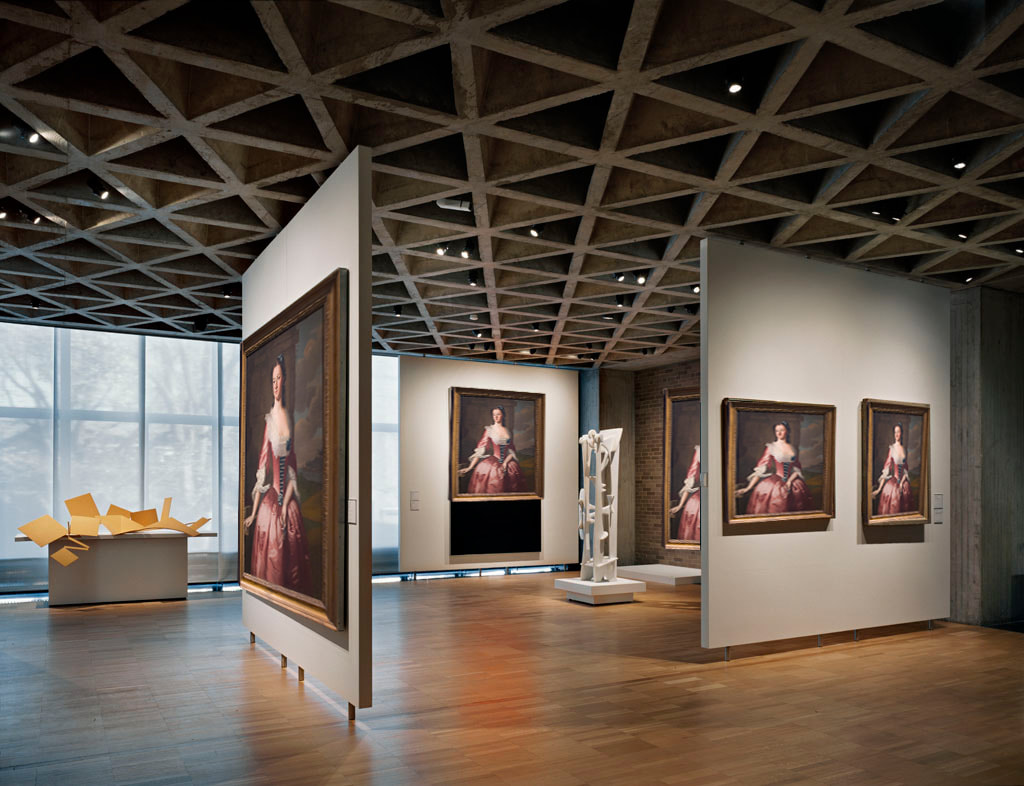
In this project, our job was to take the painting on the left and replace every photo in the second picture with the same painting. To be able to do this, we needed to use a tool which allowed us to distort the painting so it could fit in each of the paintings in the museum. The picture on the far right is what the final project looks like.
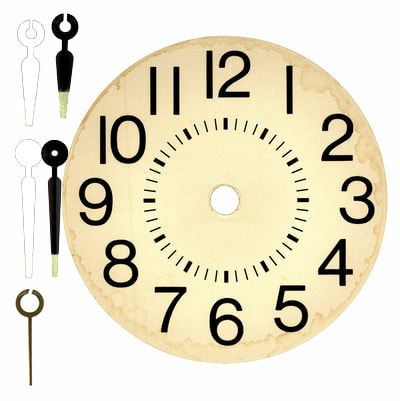
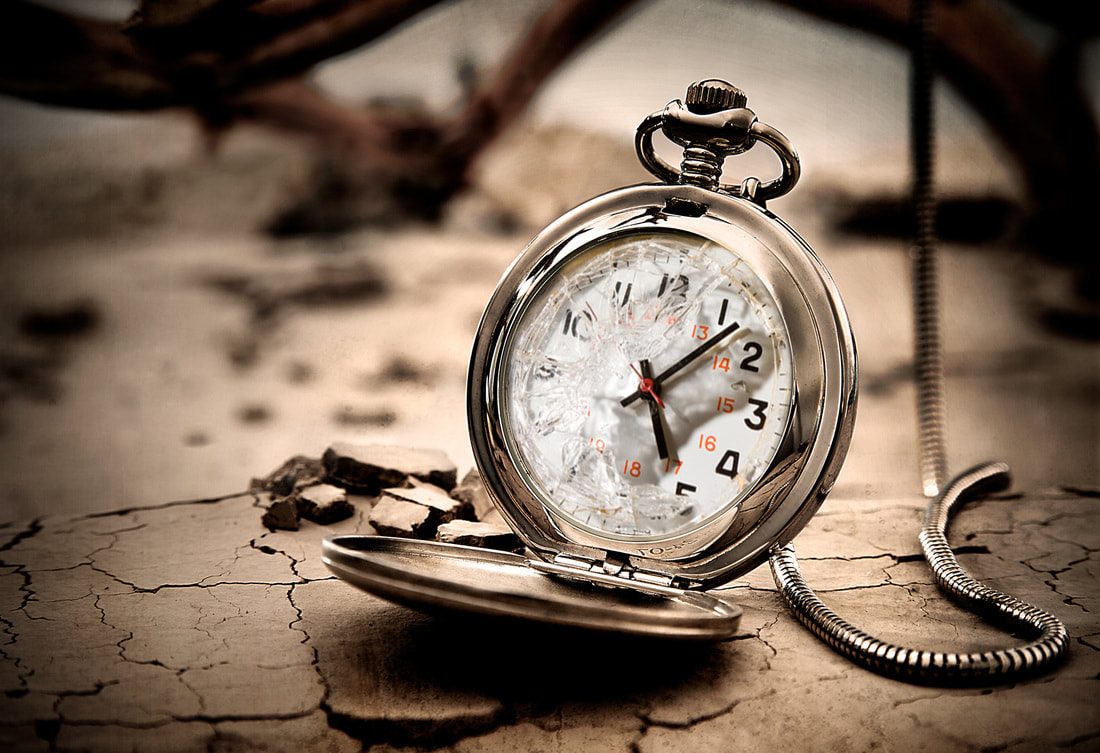
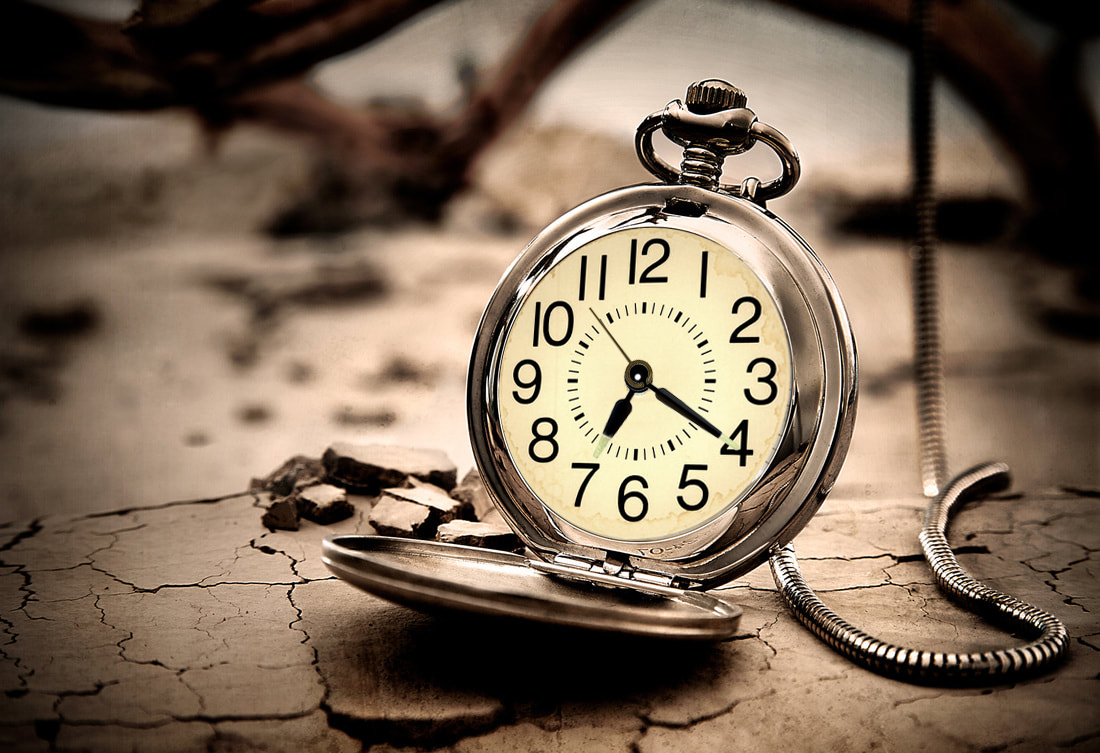
For this project, our job was to replace the broken clock with the clock on the far left side. We were also supposed to replace the hands on the clock. We learned how to use the magic wand tool to perfectly cut out the hands so there was no white left to make it look clean. We also learned how to use the lasso tool to make a perfect circle to cut out the clock. Then we needed to distort the new clock so it fit perfectly into the old clock frame.
